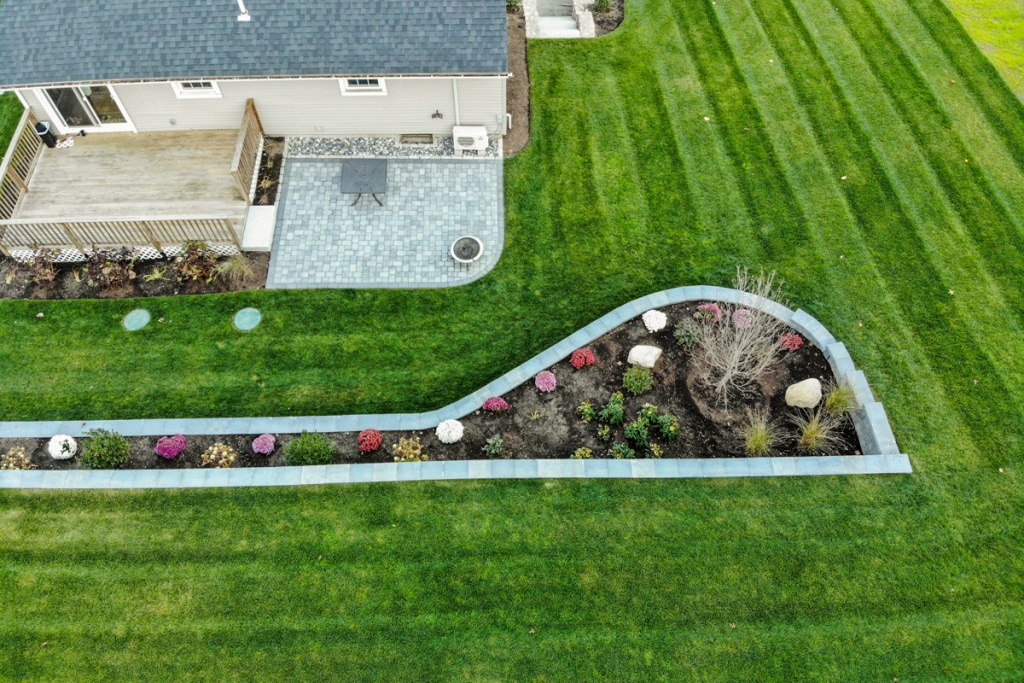
Now that the warmer weather has arrived, chances are you’re anxious to get back into your yard and add new plants to your landscape. But no matter how carefully you plan your garden, or how good the quality of the plants, assuring a proper “new home” for their roots is essential for any of your plantings to thrive. Even though the principles are generally the same for vegetable gardens, my focus here is on soils in landscape gardens growing woody trees and shrubs, and herbaceous and annual plants.
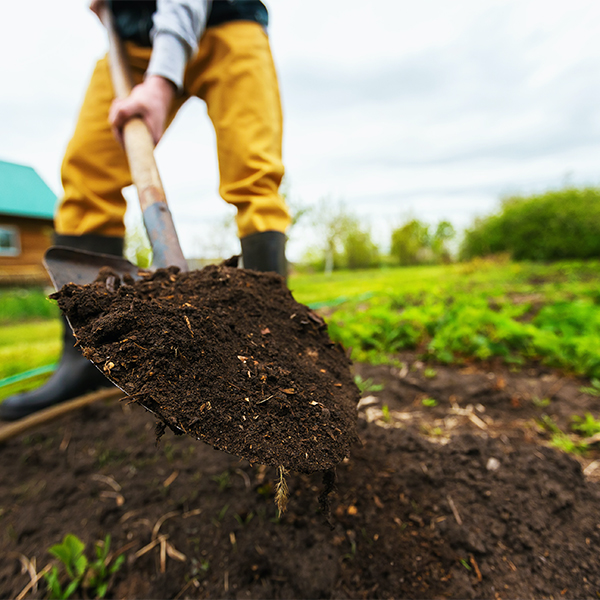
Soils unsuited for longer-term plant health are fairly typical in this region, particularly if you have a newer home around which the builder provided merely the “contract-required” amount of topsoil (which can be as little as 1-4 inches). Even older homes often are surrounded with soils of uneven quality. You can tell a lot about your soil by turning over a shovelful and examining its color, texture and water-retention; does it feel sandy or clayey, how does it smell, are there chunks of stone or debris?
Before working your soil, it’s important to be sure it has the proper moisture level. A general rule-or-thumb is to squeeze a handful of soil firmly into a ball; if it holds together when pressed with a thumb (or if water drips out), it is too wet – better to wait and allow it to dry to avoid damaging its texture and drainage. But when the ball crumbles, the moisture level should be OK for mixing. And if it’s very dry or sandy, you’ll need to increase the amount of organics you add. Some soils may benefit from a more complete testing for pH, fertility and other elements: check with your local garden center or consult the Extension Service website for information on how to do this.
Whether your soil is sandy, clayey or stony, applying compost, aged manures, peat and other organic materials will be helpful. Organics like these increase fertility and enhance moisture retention while improving texture and aiding drainage. The best foundation for every garden is properly prepared soil, and all soils benefit from addition of organics. It’s also important to remove weeds, stones, old roots and debris to help reduce problems that might hinder root growth.
Spread at least a couple inches (or more for poorer soils) of your organic material on the ground and turn it under using a spade, shovel or rototiller, mixing thoroughly to a depth of 6 to 12 inches. In addition, it’s generally a good practice to add a fertilizer formulation at recommended rates while mixing. Open areas around existing plantings can also be treated in the same manner.
If you want to convert a lawn or grassy area into a condition suitable for a garden, additional steps are needed: all traces of sod, weeds and roots should be killed and removed, along with stones and debris. Once accomplished the principles are pretty much the same. Should you want more detailed advice, the experts at your local garden center are well qualified to offer recommendations.
Always choose the highest quality plants – after all, once they’re installed, they’ll be there for a long time. And don’t forget to mulch your plantings as you finish – adding a two-inch layer of bark mulch not only retains moisture, reduces weed germination and looks attractive, but it also helps increase long-term soil fertility as it decomposes.
Wayne Mezitt is a 3rd generation nurseryman, a Massachusetts Certified Horticulturist, now chairman of Weston Nurseries of Hopkinton, Chelmsford & Hingham MA, and owner of “Hort-Sense”, a horticultural advisory business. He currently serves in various capacities on several horticulturally-related organizations, including the Massachusetts Horticultural Society at The Gardens at Elm Bank in Wellesley MA, and chairman for the Massachusetts Invasive Plant Advisory Group (MIPAG).

