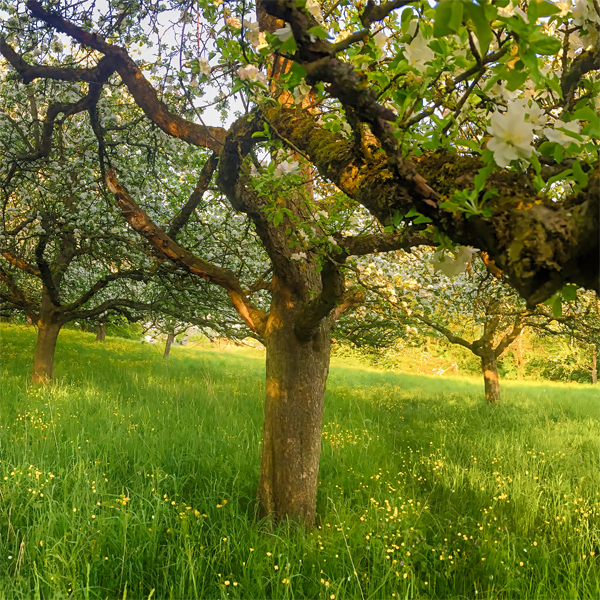
Fruit trees are surprisingly easy to grow in a backyard setting, and they yield years’ worth of beautiful spring blooms and plentiful fruit. Apple, peach, plum and pear trees all grow well in a variety of climates. When making your selection, confirm with the nursery that your chosen fruit tree is compatible with the environment that you have selected as its home. See Step 1 and beyond to learn how to plant fruit trees so that they thrive for years to come
Part 1: Choosing a Tree and Planting Location
Step 1
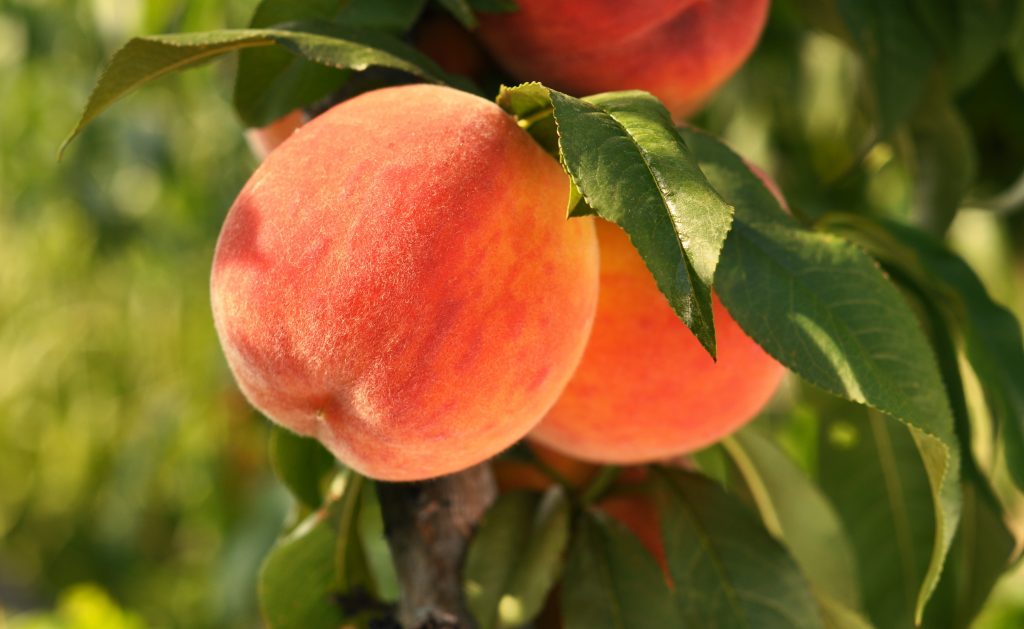
Buy a grafted fruit tree. Sweet apples, plums, pears and other fruits come from trees that have been grafted so that they produce the best-tasting fruit. Although fruit trees can be planted from seed, the resulting trees won’t necessarily produce fruit that’s good to eat. In order to make sure the tree you grow will produce fruit you’ll want to eat, the best idea is to buy a grafted fruit tree, which is a very young tree that has been grafted onto a root stock to improve its growth.
Step 2
Look for an open, sunny spot in the yard. Fruit trees generally need at least six hours of full sunlight in order to grow strong and produce healthy fruit. Look for a spot in the yard where the fruit tree won’t be shaded by your home or other taller trees. You should also look for a spot without a lot of other foliage nearby, so the tree won’t have to compete with other plants for nutrients and water.
You should also select the location of your fruit tree by imagining it at full size. Take into account its width and understand that the roots of your tree will reach out as far as the length of the branches. This means that you don’t want it too close to a building or driveway.
Step 3
Check the drainage in your planting area. Aside from full sun, proper soil drainage is the other essential condition for thriving fruit trees. The soil must not retain a lot of water, or it will cause the fruit trees’ roots to rot in the ground. Check the soil drainage by digging a hole 1 foot (0.3 m) deep and filling it with water. If the water drains quickly, the area should be fine for planting a fruit tree. If the water stands in the hole, choose another part of the yard.
If the soil in your yard is clay-heavy, which can cause it to drain poorly, you still have options. You can plant your fruit tree in a raised bed or till the soil and mix it with compost or peat moss in order to loosen it for better drainage.
Part 2: Digging a Hole and Preparing the Ground
Step 4
Prepare to plant in the spring. Fruit trees can be planted at any time of year, but in areas with cold winters or hot summers, your best bet is to wait until spring. This will allow the tree to immediately start adapting to the soil and growing roots. It’s also the best time of year for breaking ground, since the soil will be thawed and easy to dig.
Step 5
Add compost to the soil if necessary. If you have clay-heavy soil, or soil that is hard and packed, it’s a good idea to till the soil to a depth of at least 2 feet and work in some compost or peat moss. This will loosen the soil, provide better drainage and make room for the tree’s roots to begin growing. Use a garden spade or a tiller to break up and loosen the soil, then add compost and mix it in.
Step 6
Dig a wide hole. Use a shovel to dig a hole twice as wide as the spread of the roots of the tree you’re planting. Fruit trees’ roots tend to grow outward, and this will give them plenty of room. Make sure that the roots are surrounded by loose soil so that they are not challenged by compressed earth.
At the same time, it’s important not to dig the hole too deep. Since you’re working with a grafted bare root, it’s important that the graft at the base of the tree stay above the soil.
If you’re planting more than one tree, plant them at least 18 inches apart. Keep in mind that some trees require as much as 20 feet of spacing. When you buy the tree, determine how big it will grow when it is mature to determine how much space you need between trees. In general, the more space you can give them, the better.
Step 7
Follow directions for amending the soil during the fruit tree planting process. Depending on what type of tree you’re planting and what your soil quality is, you may want to add organic nutrients to the hole you’ve dug before planting. In some cases, all that is needed is a sprinkle of compost on the base of the hole.
Check with the nursery regarding amending soil and what they suggest. In some cases you may not even have to amend the soil because the existing soil contains enough nutrition.
Don’t add compost and other nutrients unless you’re advised to do so. Once the roots grow past the amended soil, they’ll need to be able to survive on the nutrients that are naturally available, so giving them very rich soil to begin with won’t be helpful in the long run.
Step 8
Position the tree in the hole. Throw a little loose soil into the hole about a finger length high to create a mound, and position the root ball of your fruit tree on top of the center of the mound. Spread out the roots and make sure the graft line situated at the base of the trunk is higher than the level of the ground. Add or remove soil from the mound accordingly. Ensure that no roots are exposed.
If there are roots at or above the graft, cut these roots off and double check that the graft is above ground. If roots are able to reach the soil from the graft, the tree will always have sucker shoots growing from the base that will weaken the tree.
Step 9
Press soil around the roots. Fill the hole surrounding the root of your tree with your nourished soil, and make sure that you cover all the roots completely. Stand back and check that the fruit growing tree is standing vertical. Press the soil down gently.
Step 10
Water the roots. Thoroughly water the area so that the soil fills in around the tree’s roots. Add more soil, press it down gently and water again. Continue this process until the soil reaches the actual ground level.
Be sure not to overwater the tree, however; if the roots remain waterlogged, they can rot.
Step 11
Stake your fruit tree if needed. If you’re in an area with strong winds, stake it by tying it to a strong stick with a generous strip of cloth or rubber. Make sure that it is loose enough to avoid restraining the tree as the trunk grows. Staking will also help the tree grow straight and tall.
Step 12
Cover the soiled area with a layer of organic mulch. This will retain the moisture in the soil and protect the roots. It will prevent grass and weeds from growing and competing for nutrients and water as well. Ensure that the graft line is not covered by mulch; it needs to remain visible above ground level.
Step 13
Protect the tree from animals. If you have deer or other animals in your area that like to browse on young trees, you may want to fence off the tree. You can do this by cutting three or four feet of chicken wire or a similar material. Mold it into a loop, and place it over your tree, securing it with a stake. Make sure that the fencing material reaches over the top of the tree.
Part 3: Caring for a Fruit Tree
Step 14
Decide how to prune. If you want the tree to produce fruiting branches low to the ground, you can prune it to knee height and cut back the side branches to one or two buds. This will direct the tree’s energy to producing low branches at the cuts you made. On the other hand, you can lop off the bottom branches if you’d prefer the tree not to have branches low to the ground.
Step 15
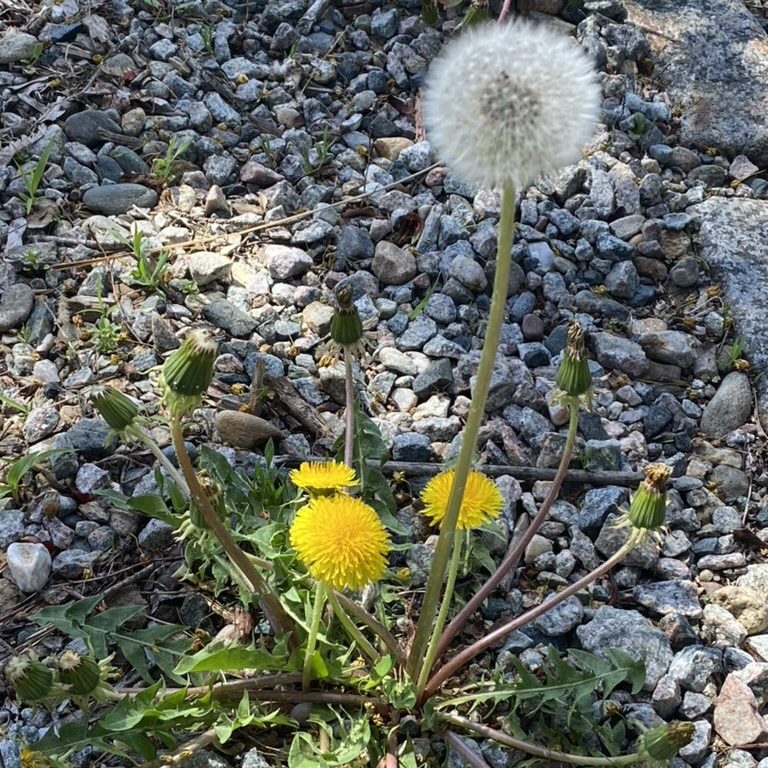
Control weeds. It’s important to weed the area around the tree as it grows to protect the roots and keep the tree growing healthy and strong. Pull the weeds by hand, rather than using an herbicide.
Step 16
Don’t overwater. Keeping the soil constantly wet is not necessary, and can lead to the roots rotting. Let the rainwater your tree. If a week has passed with no rainfall, water it thoroughly, then let it dry out again.
Originally published at https://www.wikihow.com/Plant-Fruit-Trees

